
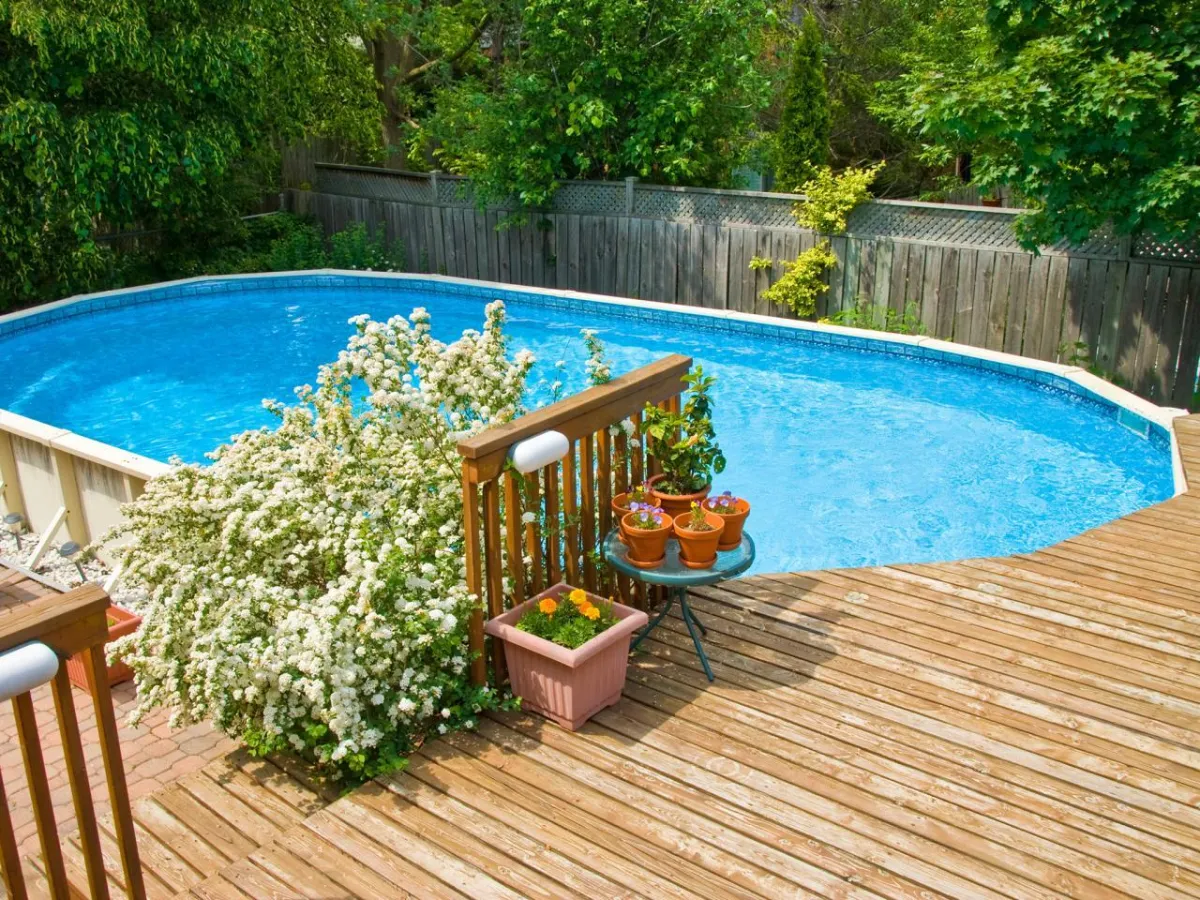
How to Build a Raised Deck: A Step-by-Step Guide for Homeowners
Imagine stepping out your back door onto a beautiful new deck where you can enjoy morning coffee, family barbecues, or peaceful evening relaxation.
Building your own raised deck might seem like a big challenge, but with the right guidance, you can make this dream a reality! Learning how to build a raised deck is a project that can transform your outdoor space and add value to your home.
We understand that taking on such a project might feel overwhelming at first. Don't worry! We've broken down this process into simple, manageable steps that anyone can follow.
Whether you're a DIY beginner or have some experience with home projects, this guide will help you create a sturdy, beautiful deck you'll enjoy for years to come.
Planning Your Raised Deck
Before grabbing your hammer, you need a solid plan. Good planning saves time, money, and headaches!
Check Local Building Codes and Get Permits
This step is super important and can't be skipped.
Contact your local building department about required permits
Ask about specific code requirements for decks in your area
Find out if there are height restrictions or setback requirements
Get your permits before buying materials
According to the International Residential Code, most areas require permits for decks more than 30 inches above grade.
Design Your Deck
Think about what you want from your new deck.
Decide on the size and shape that fits your needs
Consider how you'll use the space (dining, lounging, grilling)
Think about sun exposure and views
Plan for stairs and railings if needed
Draw a simple sketch with measurements
Gather Your Materials and Tools
You'll need specific materials for a sturdy deck.
Materials:
Pressure-treated lumber for the frame
Decking boards (pressure-treated, composite, or cedar)
Concrete for footings
Galvanized joist hangers and hardware
Deck screws (3-inch and 2.5-inch)
Railing materials if needed
Tools:
Circular saw
Drill/driver
Level
Tape measure
Post hole digger or power auger
Hammer
Speed square
String line
How to Build a Raised Deck Attached to House
Many homeowners prefer a deck connected directly to their home. Let's break down the steps.
Step 1: Mark Your Deck Location
Start by mapping out where your deck will go.
Measure and mark the width of your deck on the house wall
Drive stakes into the ground at the outer corners
Run string between stakes to outline the perimeter
Use a carpenter's level to make sure the strings are level
Adjust the height of the strings to match where the top of your deck will be
Step 2: Install the Ledger Board
The ledger board connects your deck to the house.
Mark the height of the ledger board on your house wall (remember to allow for the thickness of your decking)
Remove siding in this area if necessary
Install flashing to prevent water damage
Attach the ledger board to the house using lag screws into the house framing
Make sure the ledger is perfectly level
Step 3: Dig and Pour Footings
Footings support your deck and prevent it from sinking.
Mark footing locations using your plan (typically 6-8 feet apart)
Dig holes below the frost line for your area
Widen the bottom of the holes to create a bell shape
Pour concrete into the holes
Insert post anchors into the wet concrete
Let the concrete cure completely (usually 24-48 hours)
The National Association of Home Builders recommends footings that extend below the frost line in your area to prevent heaving.
Step 4: Install Support Posts
Posts connect your footings to the deck frame.
Cut pressure-treated posts to the correct height
Attach posts to the footings using post bases
Make sure all posts are perfectly plumb using a level
Temporarily brace the posts to keep them straight
Step 5: Add Beams and Joists
The frame supports your decking boards.
Install the main support beam across the tops of your posts
Attach the beam to the posts using proper hardware
Install rim joists around the perimeter
Add inner joists, spaced 16 inches apart
Use joist hangers to attach joists to the ledger board and beam
Double-check that everything is level and square
Step 6: Install Decking Boards
Now for the part you'll actually see and walk on!
Start laying decking boards from the house outward
Leave a 1/8-inch gap between boards for drainage
Use two deck screws at each joist intersection
Cut the ends flush with the outer joists when complete
Sand any rough edges for safety
Consumer Reports suggests using hidden fasteners with composite decking for a cleaner look.
Step 7: Add Railings if Needed
Railings provide safety and style.
Install railing posts at corners and every 6 feet along the perimeter
Attach the top and bottom rails
Add balusters according to local code (typically spaced less than 4 inches apart)
Finish with post caps for a polished look
Step 8: Add Stairs if Needed
Safe stairs are essential for access.
Calculate the number of steps needed (rise divided by 7-7.5 inches)
Install stair stringers
Attach treads to the stringers
Add railing along the stairs
Double-check that stairs meet local code requirements
Additional Tips for Success
Build a deck that lasts with these important tips.
Use a water repellent sealer on wood decking
Double-check all measurements before cutting
Pre-drill holes to prevent splitting
Always use galvanized or stainless steel hardware to prevent rust
Consider adding lighting for evening enjoyment and safety
The Family Handyman recommends spacing your joists 12 inches apart instead of 16 if you're using composite decking for a sturdier feel.
Conclusion
Building your own raised deck is a rewarding project that enhances your outdoor living space and adds value to your home. By following these steps and taking your time, you can create a beautiful, sturdy deck that will be the envy of the neighborhood.
Remember that safety and proper planning are the keys to success when tackling how to build a raised deck.
We hope this guide has given you the confidence to start planning your deck project! With some patience and these clear steps, you'll soon be enjoying summer barbecues and peaceful mornings on your new deck.

© 2025 | All Rights Reserved | Privacy Policy