
Transform Your Outdoor Space: How to Install Deck Tiles
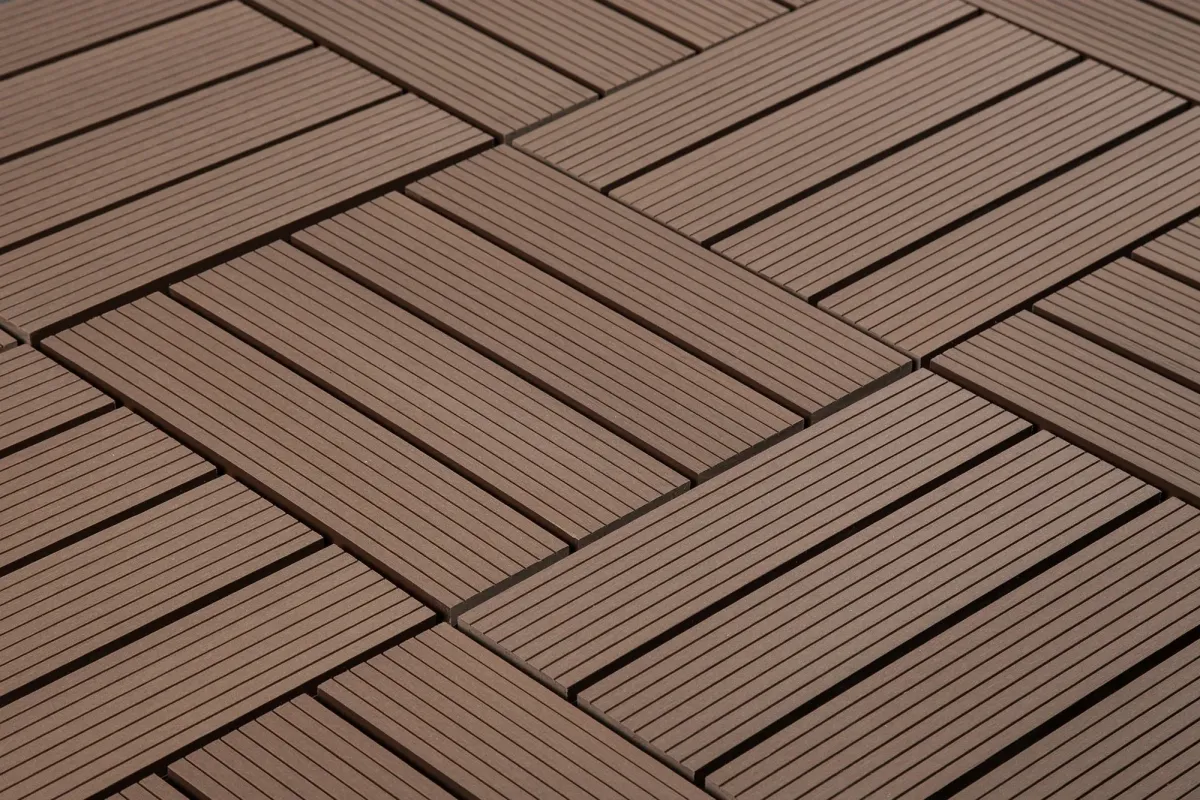
Have you ever looked at your tired outdoor space and wished you could wave a magic wand to make it beautiful? Well, learning how to install deck tiles might be the next best thing to magic. We understand that home improvement projects can feel overwhelming, but today we'll walk through this process together, step by step, just as if I were right there helping you transform your space.
Before we get into installation, it's worth answering a question a lot of homeowners ask first: are decking tiles any good? For most residential applications, yes — they offer an affordable, DIY-friendly way to upgrade a tired surface without a full deck rebuild, and modern interlocking designs hold up well to weather when installed on a properly prepped base. The key, as we'll cover throughout this guide, is getting that surface preparation right from the start.
Let's imagine it's a bright Saturday morning, and you're ready to tackle this project. The birds are chirping, there's a gentle breeze, and your outdoor space is about to get an amazing makeover. By the end of this guide, you'll feel confident about installing deck tiles on any surface you have in mind.
Understanding Your Surface: The Foundation of Success
Before we dive into the installation process, let's take a moment to understand why surface preparation matters so much. Think of it like preparing a canvas before painting a masterpiece. According to the National Wood Flooring Association, proper surface preparation can prevent up to 90% of installation problems.
The success of your deck tile installation depends greatly on the condition of your underlying surface. Just as a house needs a solid foundation, your deck tiles need a stable, clean, and level base to look their best and last for years to come.
Essential Tools for Your Project
Before you begin, gather these items:
High-quality deck tiles (calculate your area plus 15% extra for cuts)
Measuring tape (preferably 25 feet long)
4-foot level
Utility knife with fresh blades
Rubber mallet (12-16 oz works best)
Pencil and paper for measurements
Safety glasses and work gloves
Cleaning supplies
Square edge tool for alignment
Marking chalk or string line
Vacuum or broom for cleanup
Surface-Specific Installation Methods
Installing Deck Tiles on Concrete
When tackling how to install deck tiles on concrete, follow these steps:
Clean your concrete surface thoroughly with a pressure washer
Allow 24 hours for complete drying
Check for levelness using your 4-foot level
Mark your starting point in the most visible corner
Begin laying tiles, working outward in a grid pattern
Use a rubber mallet to ensure secure connections
Check level and alignment every few rows
Wood Deck Installation Guide
Installing Deck Tiles on Concrete
When tackling how to install deck tiles on concrete, follow these steps:
Clean your concrete surface thoroughly with a pressure washer
Allow 24 hours for complete drying
Check for levelness using your 4-foot level
Mark your starting point in the most visible corner
Begin laying tiles, working outward in a grid pattern
Use a rubber mallet to ensure secure connections
Check level and alignment every few rows
Wood Deck Installation Guide
For those wondering how to install deck tiles on wood deck surfaces:
Inspect your existing deck boards for any rot or damage
Ensure deck boards are securely fastened
Clean the surface thoroughly with a deck cleaner
Allow complete drying (usually 24-48 hours)
Start installation from the house wall outward
Maintain consistent spacing between tiles
Account for wood expansion in different weather conditions
Tackling Uneven Surfaces
When learning how to install deck tiles on uneven surface areas:
Use a self-leveling compound for concrete surfaces
Add shims under tiles where needed
Consider interlocking tiles with flexible connections
Test each tile for stability before moving forward
Document problem areas for future reference
Use composite shims for permanent solutions
Check levelness frequently during installation
Step-by-Step Installation Process
Now, let's walk through how to install interlocking deck tiles, breaking it down into manageable steps:
Measure Your Space
Calculate total square footage
Add 15% for cuts and mistakes
Draw a simple diagram of your space
Mark utility locations
Note drainage patterns
Prepare Your Surface
Remove all debris
Clean thoroughly
Allow complete drying
Address any drainage issues
Fix any surface damage
Plan Your Layout
Start from the most visible corner
Avoid small cuts along visible edges
Consider patterns and direction
Account for obstacles
Plan for proper drainage
Begin Installation
Place your first tile in the corner
Check for square alignment
Work in small sections
Maintain consistent spacing
Check level frequently
Special Considerations for Grass Installation
If you're wondering about how to install deck tiles on grass, here's our proven method:
Remove grass and topsoil to 2 inches depth
Add landscape fabric to prevent weed growth
Layer with crushed gravel
Compact thoroughly
Add leveling sand
Install tiles on the prepared base
Check drainage patterns
Monitor settling during first month
Maintenance Tips for Long-Lasting Beauty
To keep your newly installed deck tiles looking fantastic:
Sweep weekly to prevent debris accumulation
Clean spills immediately to prevent staining
Check connections monthly during the first year
Tighten any loose tiles promptly
Inspect drainage patterns seasonally
Address any issues immediately
Document maintenance performed
Common Installation Mistakes to Avoid
Learn from others' experiences:
Skipping surface preparation
Rushing the layout planning
Ignoring manufacturer spacing requirements
Forgetting about drainage considerations
Neglecting to account for expansion
Using damaged or irregular tiles
Skipping regular maintenance checks
Understanding Expansion and Contraction
According to Building Science Corporation, all outdoor materials expand and contract with temperature changes. Leave appropriate gaps around fixed objects and edges to accommodate these natural movements. This is especially important in areas with extreme temperature variations.
Consider these factors affecting expansion:
Local climate conditions
Material composition
Surface exposure to sun
Installation season
Surrounding structures
Weather Considerations
The success of your installation can depend greatly on weather conditions. Consider these factors:
Install during moderate temperatures
Avoid installation during rain
Allow materials to acclimate
Plan for seasonal changes
Monitor weather forecasts
Conclusion
Now that you understand how to install deck tiles, you're ready to transform your outdoor space into something beautiful. Remember, taking your time with preparation and following these steps carefully will lead to success.
Whether you're working with concrete, wood, or even grass, these techniques will help you create a stunning outdoor area you'll enjoy for years to come.
Would you like to share your deck tile installation journey with us? We'd love to hear about your experience in the comments below! Your success stories and lessons learned can help inspire others to tackle their own deck tile projects with confidence.
If you're in Tucson or Albuquerquecheck our local service page for pricing

© 2026 | All Rights Reserved | Privacy Policy