
Pressure Washing a Deck Before Staining: A Complete Guide
Looking at your weathered, gray deck and dreaming of how gorgeous it could look with a fresh coat of stain? I've been there! The good news is that with a little elbow grease and the right approach to pressure washing a deck before staining, you can completely transform your outdoor space.
I remember the first time I tried to stain my deck without properly cleaning it first. Big mistake! The stain looked blotchy, peeled within months, and I had to redo the whole project. Trust me, you don't want to learn this lesson the hard way like I did.
In this friendly guide, I'll share everything I've learned about pressure washing a deck before staining to help you get professional-quality results without the professional price tag!
Why Pressure Washing Makes All the Difference
Before grabbing that can of stain, let's talk about why the prep work is so crucial:
Your Stain Will Actually Last
Think about it - would you paint over a dirty wall? Of course not! The same principle applies to your deck.
When you wash deck before staining, you're removing years of dirt, grime, pollen, and old stain that would prevent your new stain from properly soaking into the wood. A clean surface means better adhesion and a finish that won't start flaking off by the time your summer BBQs roll around.
Say Goodbye to Mold and Mildew
Those dark spots on your deck? That's likely mold or mildew, and it's doing more than just looking ugly – it's actually eating away at your wood!
Pressure washing blasts away these harmful organisms before they can cause serious damage. Plus, who wants to seal in mold with a fresh coat of stain? Yuck!
Reveal the Wood's Natural Beauty
Over time, sun exposure turns the outer layer of wood fibers gray and lifeless. A good pressure washing strips away this dead layer, revealing the fresh, vibrant wood underneath.
It's like turning back the clock on your deck, giving your stain the perfect canvas to showcase the wood's natural beauty and grain patterns.
What You'll Need to Get Started
Before you dive into pressure washing a deck before staining, gather these supplies:
A pressure washer (1,500-2,000 PSI is ideal for most wood decks)
Deck cleaning solution specifically formulated for wood
A stiff brush (for stubborn spots)
Safety goggles and closed-toe shoes
Garden hose
Plastic sheeting to protect nearby plants or furniture
Step-by-Step: How to Pressure Wash Like a Pro
Step 1: Clear Everything Off Your Deck
Remove all furniture, grills, plants, and other items from your deck. Give yourself a completely clear workspace.
This isn't just about convenience – it also protects your belongings from getting soaked or damaged by cleaning solutions.
Step 2: Apply Deck Cleaner
Mix your deck cleaner according to the package directions. Most cleaners can be applied with a pump sprayer, garden sprayer, or through the soap dispenser on your pressure washer.
Spread the cleaner evenly and let it sit for 10-15 minutes (but don't let it dry completely). This gives it time to break down dirt and grime, making your pressure washing much more effective.
Step 3: Scrub the Tough Spots
While the cleaner works its magic, grab that stiff brush and give some extra attention to any areas with stubborn stains, heavy mildew, or built-up grime.
The area under your grill probably needs some special attention (I know mine always does!). A little extra scrubbing now will save you headaches later.
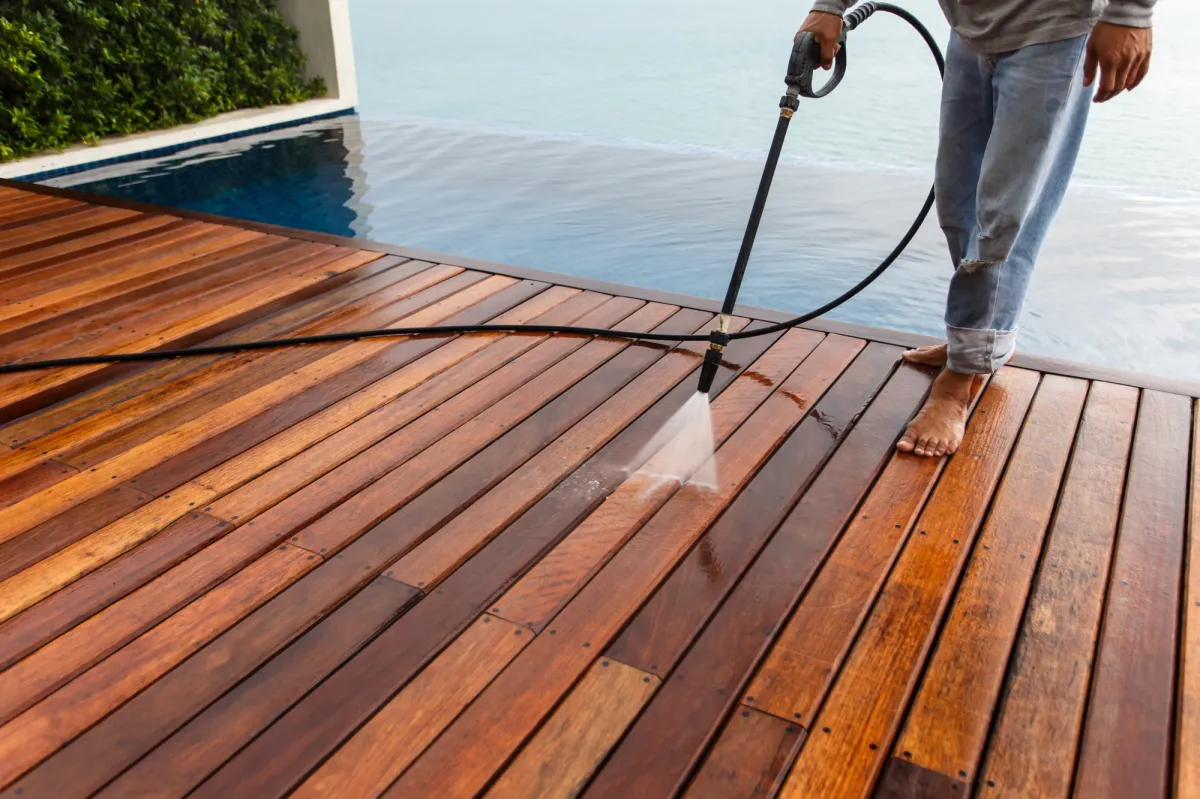
Step 4: Fire Up the Pressure Washer
Now for the satisfying part! Set your pressure washer to about 1,500 PSI – this gives you enough cleaning power without damaging the wood fibers.
Hold the nozzle about 12 inches from the deck surface and move in the direction of the wood grain, using sweeping, overlapping strokes. Keep the spray moving constantly to avoid creating "dig marks" in the wood.
The transformation is amazing to watch – you'll see the gray, dirty surface disappear, revealing fresh, clean wood!
Step 5: Let It Dry Completely
After pressure washing a deck before staining, patience is key! You need to let the wood dry THOROUGHLY before applying stain.
Wait at least 48 hours of dry weather – possibly longer if you live in a humid climate. The wood should feel completely dry to the touch with no damp spots.
I've made the mistake of rushing this step before, and the results were disappointing. Trust me, the wait is worth it!
Common Mistakes to Avoid
Using Too Much Pressure
It's tempting to crank up the power to blast away dirt faster, but too much pressure will actually damage your deck by etching the wood or raising the grain.
Stick to 1,500-2,000 PSI and be patient with the process. It's better to make two passes at lower pressure than to damage your deck with one high-pressure blast.
Using Too Much Pressure
Keep that wand at least 12 inches from your deck surface. Getting too close concentrates the spray and can create those ugly "zebra stripes" that are nearly impossible to fix without sanding.
Forgetting About the Gaps
Don't forget to clean between the deck boards where debris loves to hide! A clogged gap prevents proper drainage and can lead to rot over time.
Angle your sprayer slightly to flush out these spaces and keep your deck healthy for years to come.
The Payoff: A Beautiful, Long-Lasting Finish
Taking the time to properly pressure wash your deck before staining pays off big time. You'll get:
A stain that penetrates deeply and evenly
A more vibrant, natural wood appearance
Protection that lasts years longer
A professional-looking finish you can be proud of
The difference between a properly prepped deck and one that was stained without cleaning is night and day. Once you've experienced the results, you'll never skip the pressure washing a deck before staining step again!
Ready to transform your deck into the outdoor oasis you've been dreaming of? The perfect stain job starts with a thorough pressure washing, and now you know exactly how to do it right!

© 2025 | All Rights Reserved | Privacy Policy